
Expert Surface Preparation Prior to Painting an Internal Wall
Expert Surface Preparation Prior to Painting an Internal Wall – The Essential Things to Know
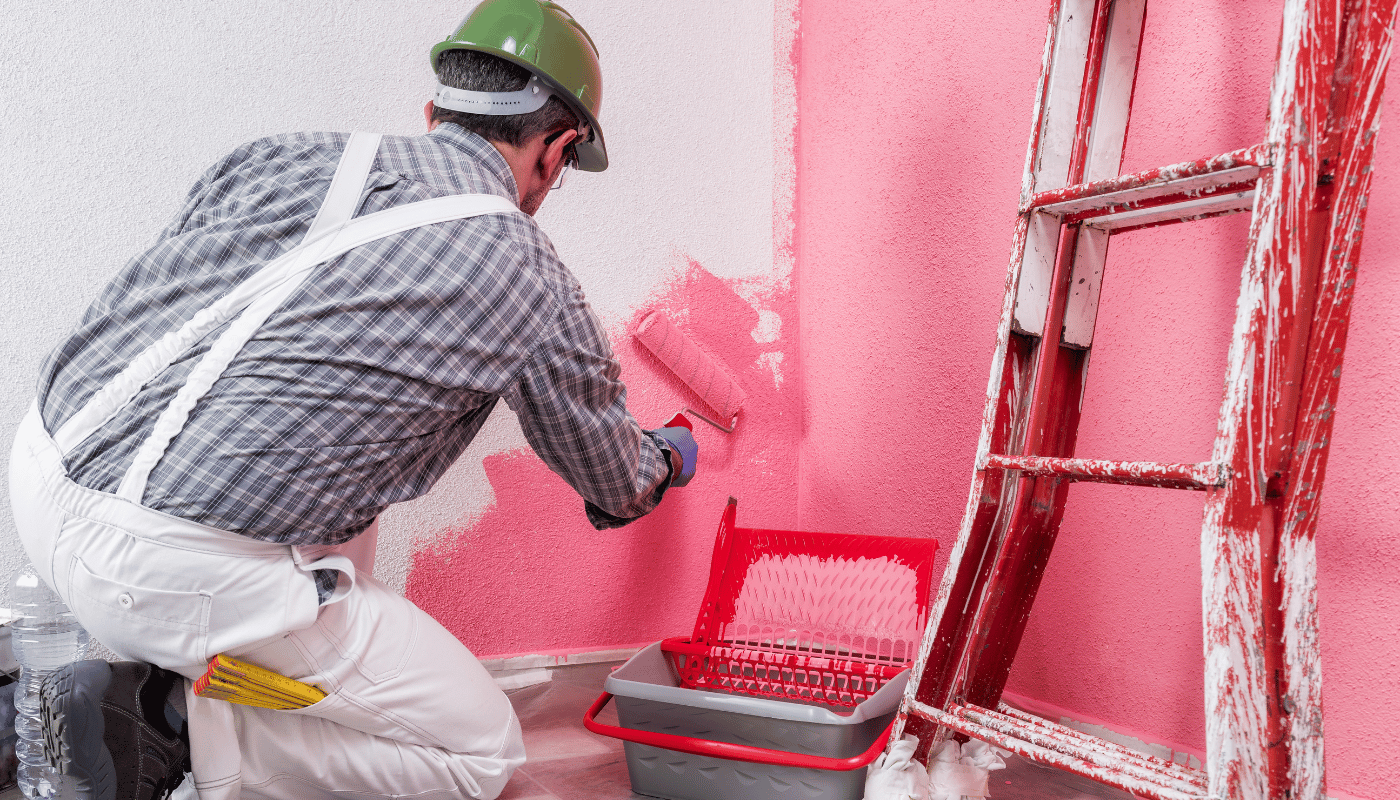
Painting an internal wall can instantly transform the look and feel of a space, but the success of the final result hinges on proper surface preparation.
Skipping or rushing this critical step can lead to issues like peeling, bubbling, or uneven paint application.
Whether you're refreshing your home or working on a commercial project, this comprehensive guide will walk you through the essential aspects of expert surface preparation for internal walls.
1. Why Surface Preparation Is Key to a Great Paint Job
A beautiful paint finish is impossible without proper preparation.
Even the highest quality paint won’t adhere well to walls with dirt, imperfections, or old layers of flaky paint.
Adequate surface preparation ensures:
- Better adhesion between the wall and paint for long-lasting results.
- A smooth finish with no visible imperfections or cracks.
- Prevention of bubbling, cracking, or peeling over time.
- Cost savings by reducing the need for touch-ups and repainting.
Skipping preparation may save time in the short term, but it can lead to paint failure, forcing costly rework later on.
2. Step-by-Step Process for Preparing Internal Walls for Painting
Each step of preparation is vital to achieving professional results.
Below is the process of expert wall preparation broken down into manageable steps.
Step 1: Inspect the Wall Surface
Begin by assessing the condition of the wall. Look for issues such as:
- Cracks, holes, or dents that need filling.
- Peeling or flaking paint from previous layers.
- Grease, stains, or mold that can interfere with paint adhesion.
- Water damage that needs to be addressed before painting.
This initial inspection will guide the preparation steps required to get the surface ready.
Step 2: Remove Old Paint and Flaky Areas
If the existing paint is peeling or flaking, it needs to be removed. Use a scraper or sanding block to scrape off loose paint, and smooth out the edges to create an even surface.
- For walls with multiple old paint layers, consider using chemical strippers or sanding machines to remove them effectively.
- If the old paint is intact, sanding lightly will still help the new coat bond better.
Step 3: Clean the Walls
Dirt, dust, grease, and stains can prevent paint from adhering properly. Cleaning the walls thoroughly ensures the surface is free of contaminants.
- Use a mild detergent mixed with water to clean the wall.
- For grease stains, especially in kitchens, use a degreaser to remove residue.
- In bathrooms, remove mold or mildew using a solution of water and bleach.
- Rinse the wall with clean water and let it dry completely.
Step 4: Repair Cracks and Imperfections
Filling holes, cracks, and dents will create a smooth and even surface, essential for achieving a flawless paint finish.
- Use spackle or filler for small holes and cracks.
- For larger cracks, apply a joint compound in layers.
- Once the filler is dry, sand the area until smooth and flush with the rest of the wall.
- Use a light to check for uneven spots or depressions that may need additional filling.
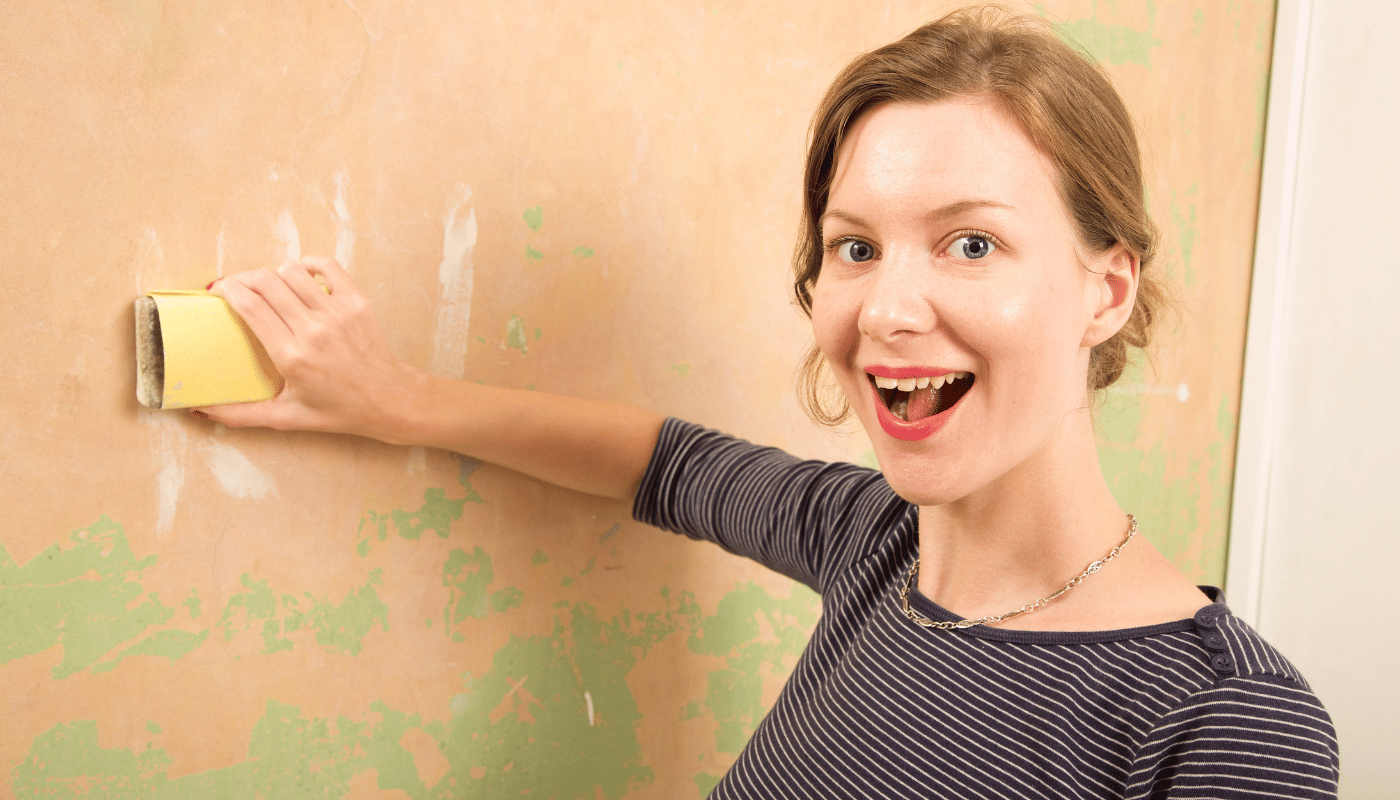
Step 5: Sand the Walls for a Smooth Finish
Sanding is an important part of wall preparation, even if the surface appears smooth. Light sanding improves paint adhesion by roughening up the surface slightly.
- Use fine-grit sandpaper (120-150 grit) for most walls.
- Sand areas with repairs or old paint for an even surface.
- Wipe down the wall after sanding with a tack cloth to remove any dust.
Step 6: Apply Painter's Tape and Protect Surfaces
Use painter’s tape to protect areas you don’t want to paint, such as trim, light switches, and baseboards. Cover floors with drop cloths or plastic sheeting to catch any paint splatter.
Ensure the painter’s tape is applied neatly and pressed firmly to avoid paint bleeding.
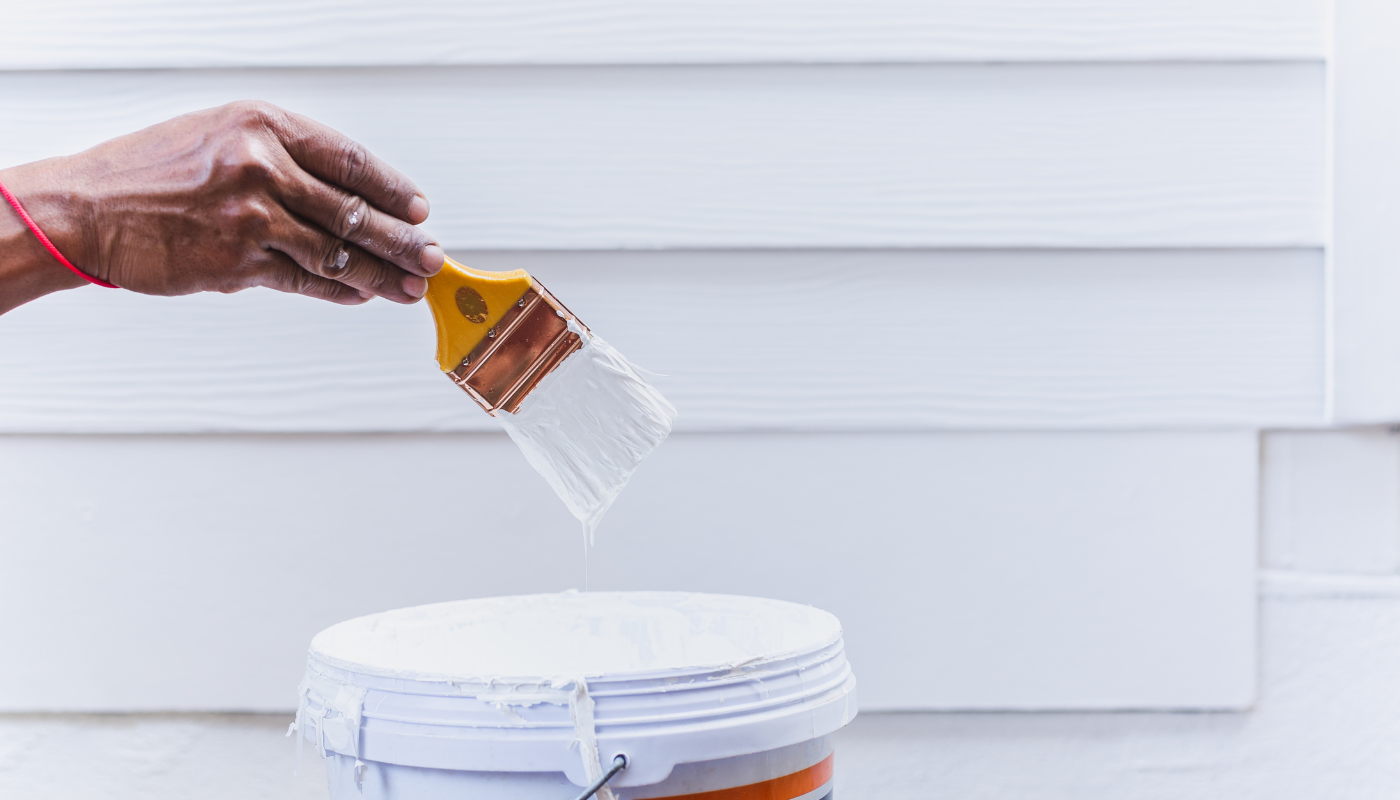
3. The Importance of Priming the Walls Before Painting
Priming is an often-overlooked but essential step in wall preparation. A primer acts as a bonding layer between the wall and the paint, improving adhesion and enhancing the durability of the finish.
When to Use a Primer:
- New Plaster: Seals the surface and prevents paint from being absorbed unevenly.
- Stained Walls: Blocks stains from bleeding through the paint.
- Drastic Colour Change: Helps cover dark colours when switching to a lighter shade.
- Patched or Repaired Walls: Ensures an even finish across old and new areas.
Using the right type of primer for your project is essential. For example, an oil-based primer works well on water-stained walls, while a water-based primer is ideal for Gyprock/plaster.
4. Common Surface Preparation Mistakes to Avoid
Even with the best intentions, mistakes can occur during preparation.
Here are some common ones to watch out for:
A. Skipping Cleaning
Painting over dust or grease leads to poor adhesion and uneven results. Always clean the walls before painting.
B. Neglecting Repairs
Failing to fill cracks or smooth out imperfections will result in a bumpy paint finish.
C. Not Sanding Enough
Sanding is essential for creating a uniform surface. Skipping this step or using the wrong grit can lead to an uneven finish.
D. Skipping Primer
Primer helps the paint adhere better and ensures a professional look. Without it, your paint job may peel or show uneven coverage.
E. Rushing the Process
Preparation takes time, but rushing through it can cause problems later. Allow sufficient drying time between steps, especially for patched areas and primer.

5. Tools and Materials for Expert Wall Preparation
Having the right tools on hand will make surface preparation more efficient.
Here are the essentials:
- Scrapers: For removing old paint and flaky areas.
- Sanding Blocks or Electric Sanders: For smoothing the surface.
- Spackle and Joint Compound: To fill holes and cracks.
- Tack Cloth: To remove sanding dust.
- Painter’s Tape: To protect areas not being painted.
- Drop Cloths or Plastic Sheeting: To protect floors and furniture.
- Primer:
To create a solid base for paint adhesion.
6. How Long Should Wall Preparation Take?
The time needed for wall preparation varies depending on the condition of the wall and the scope of the project.
Here's a rough estimate:
- Small touch-ups: 1-2 hours
- Full wall preparation (including patching and priming): 4-8 hours
- Extensive repairs (like fixing large cracks): 1-2 days, allowing for drying time
Plan your project timeline accordingly, ensuring you leave enough time for repairs and primer to dry fully before applying paint.

7. When to Hire a Professional for Wall Preparation
While some DIYers can handle surface preparation, large or complicated projects may benefit from professional expertise.
Here are some situations when it’s best to call in the pros:
- Extensive repairs are needed, such as fixing large cracks or water damage.
- You’re dealing with mould or mildew issues that require specialist treatment.
- Time constraints make it difficult to handle preparation yourself.
- You want a high-end finish that requires expert-level smoothness and attention to detail.
Professional painters and contractors have the tools, knowledge, and experience to handle all aspects of wall preparation efficiently.
8. Conclusion: The Foundation of a Perfect Paint Job
Proper surface preparation is essential to achieving a professional-quality paint finish.
By following the right steps—inspection, cleaning, repairing, sanding, and priming—you create the ideal foundation for your paint to adhere and perform its best. Avoiding common mistakes and taking your time with preparation will ensure a flawless, long-lasting result that transforms your space.
Whether you’re refreshing a room or embarking on a larger project, investing time in expert surface preparation is well worth the effort. And if the task feels overwhelming or too time-consuming, hiring professionals ensures the job is done right, saving you time and money in the long run.
By preparing your internal walls properly, you set the stage for a stunning, smooth paint finish that will look great for years to come.