
What is the Correct Order to Paint a Room?
What is the Correct Order to Paint a Room?

Painting a room may seem like a straightforward task, but following a specific order ensures the process is smooth, efficient, and delivers professional results.
Adhering to the right sequence minimises mistakes, prevents smudges, and allows you to tackle detailed areas before focusing on larger, easier surfaces. In this article, we’ll guide you step-by-step through the correct order to paint a room, from preparation to finishing touches.
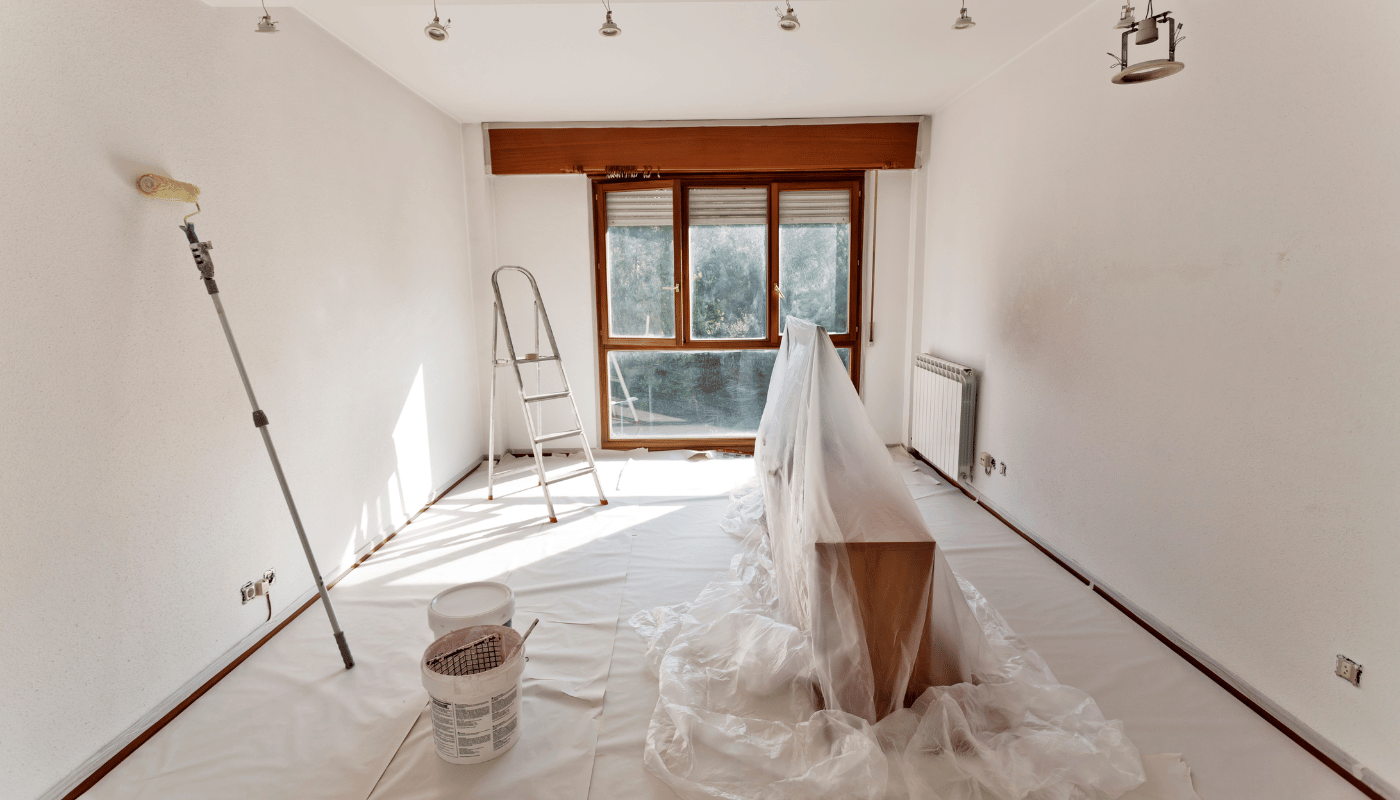
1. Preparation: The Key to a Flawless Finish
Before you begin painting, proper preparation is essential.
Rushing this step can result in uneven paint, accidental spills, and a messy workspace.
Take the time to set yourself up for success by gathering materials and readying the space.
Here’s how:
Step-by-Step Preparation:
- Remove furniture and décor: Move furniture out of the room if possible. If not, gather everything in the centre of the room and cover it with drop cloths. Remove wall decorations like pictures, mirrors, and clocks.
- Cover floors and immovable objects: Use painter’s plastic or drop cloths to protect the floor from paint splatter. Tape plastic over light fixtures and other elements that cannot be removed.
- Remove outlet covers and switch plates: Unscrew these covers to avoid paint drips. Keep the screws and plates together in a small bag to make reinstallation easier.
- Clean surfaces: Wipe down walls, trim, and ceilings to remove dust, dirt, and grime. A simple mixture of water and mild detergent works well. For stubborn stains, use sugar soap.
- Repair imperfections: Use spackling paste or filler to fill holes, dents, or cracks. Sand the area smooth once dry.
- Apply painter’s masking tape: Carefully tape around windows, doorframes, and baseboards to ensure clean, sharp lines. Make sure the tape is pressed down firmly to prevent bleeding.
Why Preparation Matters:
Skipping these steps can lead to poor adhesion, uneven finishes, or the need to re-paint areas, costing you more time and money in the long run.
2. Start with the Ceiling: The First Surface to Paint
Painting the ceiling first ensures that any drips or splatters won’t ruin freshly painted walls.
This step can be physically demanding, so using a roller with an extension pole will make the task easier.
Tips for Painting Ceilings:
- Use a roller with a thick nap if the ceiling has texture (like popcorn or stippled finishes). For smooth ceilings, a shorter nap will suffice.
- Paint in sections: Work in small, overlapping strokes to maintain a wet edge and avoid visible roller marks.
- Consider using flat paint for ceilings, as it hides imperfections well.
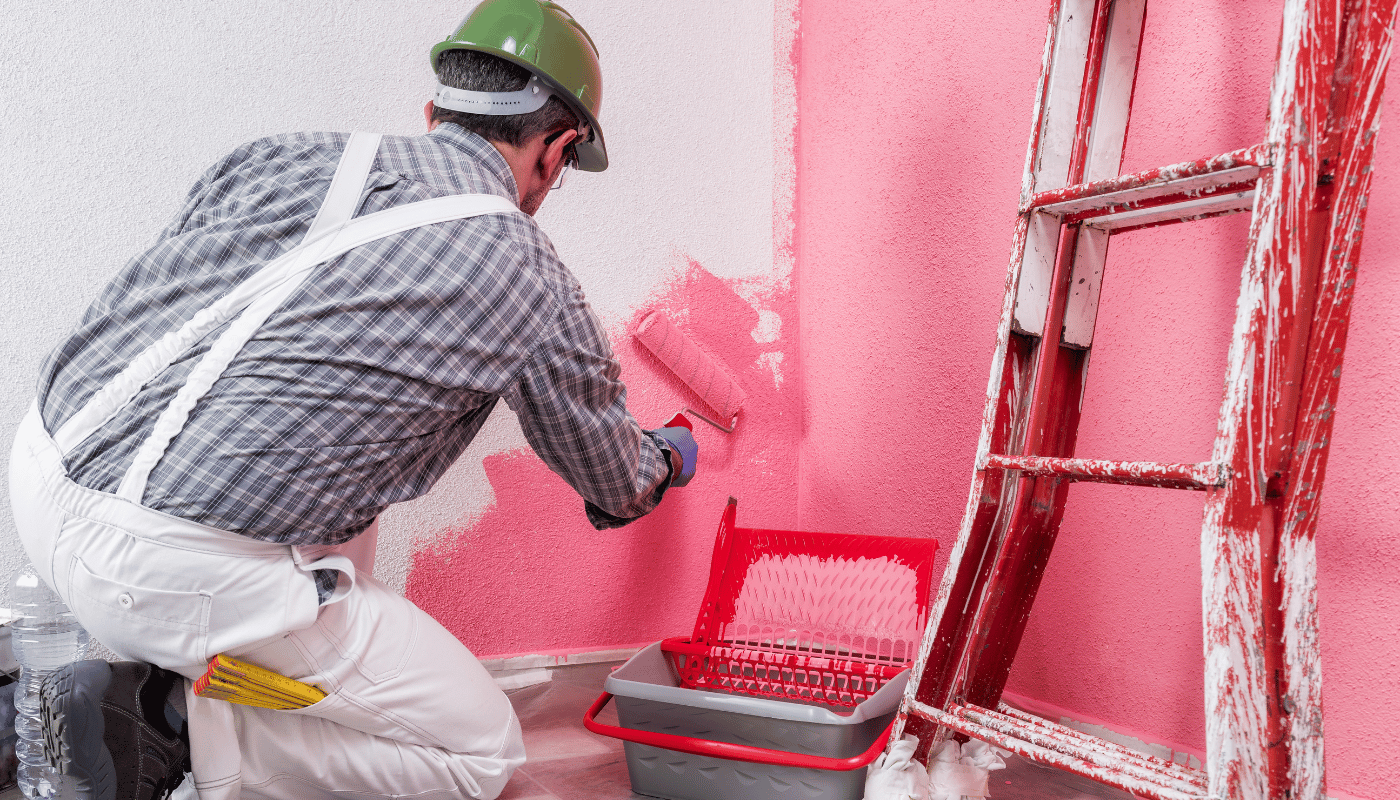
3. Paint the Walls: Work from Top to Bottom
Once the ceiling is dry, you can move on to painting the walls.
Following a top-to-bottom approach ensures you catch any drips and maintain a smooth finish.
How to Paint Walls Efficiently:
- Cut in first: Use a 2- to 3-inch angled brush to paint around the edges, near the ceiling, and along corners where rollers can’t reach. This step requires precision, so take your time.
- Roll the large areas: Use a roller to cover the walls with paint. Work in sections, using an "M" or "W" motion to spread the paint evenly. Then go over the area with vertical strokes to smooth it out.
- Apply multiple coats: For the best coverage, apply two coats of paint, allowing sufficient drying time between coats (check the manufacturer’s instructions).
Pro Tip:
Use different rollers or brushes for each colour if you’re painting feature walls or accent sections to avoid cross-contamination.
4. Paint the Trim: Add the Finishing Touches
The trim includes baseboards, window frames, and doorframes.
Painting the trim last ensures that any splatters or mistakes from the walls are already covered. It also allows you to use painter’s tape on the dry walls for crisp edges around the trim.
Tips for Painting Trim:
- Use painter’s tape: Tape along the edge where the trim meets the wall to achieve a clean, straight line.
- Opt for a semi-gloss or satin finish: These finishes are durable and easy to clean, making them perfect for trim.
- Use a smaller angled brush for precision along edges. Paint in long, smooth strokes to avoid brush marks.
5. Doors and Windows: Handle These Details with Care
Doors and windows are often overlooked but require attention for a cohesive, polished result.
You can remove doors from their hinges to make painting easier, but if that isn’t practical, paint them in place.
Painting Doors:
- Remove hardware: Unscrew door handles, hinges, and knobs to prevent paint from dripping on them.
- Paint the edges first: Start with the door’s edges, then move to the flat surfaces.
- Use a roller for flat areas and a brush for detailed or paneled sections.
Painting Window Frames:
- Tape the glass edges to prevent paint from spreading onto windows.
- Work in thin layers to avoid drips, especially along the frame edges.
6. Skirtingboards: Finish Strong
After painting the walls and trim, it's time to tackle the skirtingboards. While painting skirting boards can be tedious, it makes a significant difference in achieving a professional finish.
Tips for Painting Skirtingboards:
- Use painter’s tape: Tape the edges where the skirting boards meet the floor to prevent paint from spreading onto carpets or tiles.
- Choose the right brush: A small, angled brush will give you precision for clean lines.
- Apply two coats for durability, especially in high-traffic areas.
7. Final Touches and Clean-Up: Bringing it All Together
Once the painting is complete, the final step is to tidy up and add the finishing touches.
This stage ensures that everything looks neat and polished.
What to Do:
- Remove painter’s tape carefully: Pull the tape off at a 45-degree angle while the paint is still slightly wet to prevent peeling.
- Touch up any imperfections: Use a small brush to fix missed spots or paint smudges.
- Reattach switch plates, outlet covers, and hardware: Make sure everything is in its rightful place for a complete look.
- Clean brushes and rollers: Rinse your painting tools thoroughly to keep them in good condition for future use.
- Ventilate the room: Open windows or use fans to help the paint dry and disperse fumes.

8. Helpful Tips for a Professional Finish
- Work with natural light: Painting during the day allows you to see the true colour of the paint and spot any missed areas.
- Don’t rush drying times: Allow sufficient drying time between coats to prevent peeling or uneven finishes.
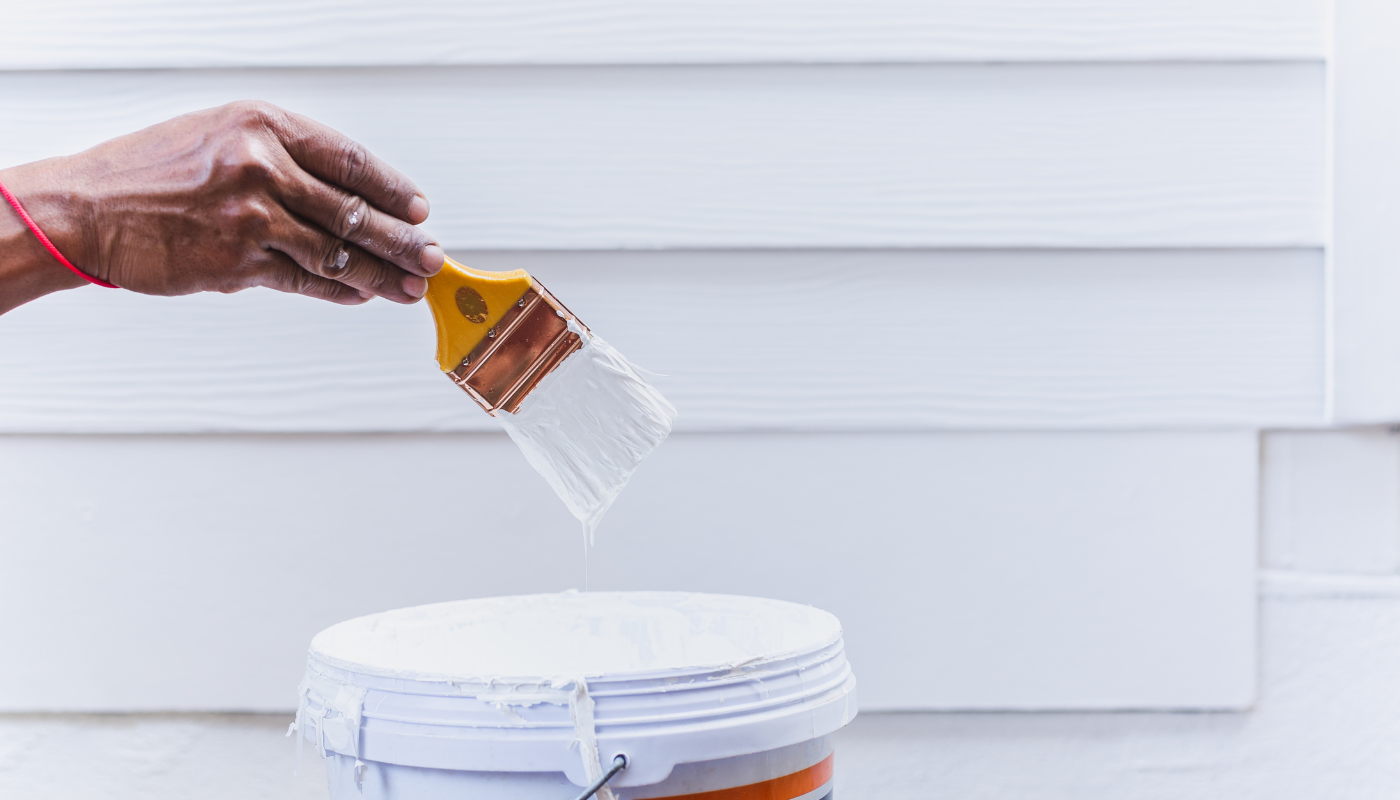
- Use quality tools and materials: Cheap brushes and rollers can leave streaks and lint, so invest in good-quality tools for the best results.
- Consider paint-and-primer-in-one options: These can save time and effort by combining two steps in one.
9. Common Mistakes to Avoid
- Skipping the prep work: Not cleaning walls or taping edges will result in a messy finish.
- Overloading the roller: Applying too much paint can lead to drips and streaks.
- Not cutting in properly: Skipping the cut-in process can leave noticeable gaps along the edges.
- Rushing through the project: Take your time to ensure even coverage and precise lines.
Painting a room may seem daunting, but following the correct order makes the process manageable and ensures a professional finish.
By starting with preparation, painting the ceiling, moving on to the walls, and finishing with the trim, doors, and baseboards, you create a flawless, polished space. With the right tools, patience, and a little attention to detail, your room will look refreshed and vibrant in no time.
Following this step-by-step approach minimises the chances of mistakes, saves time, and leaves you with a beautiful result you can enjoy for years.
So grab your paintbrush, follow the right order, and get started on transforming your space!